
Gardeners as well as the seeds that are being grown into food are no magicians. Certain conditions need to be met and in harmony for the food to be produced. Most vegetables grow and mature for more than 30 days. Thankfully there are some vegetables and some growing techniques that will allow you to sow and harvest your veggies in around one month.
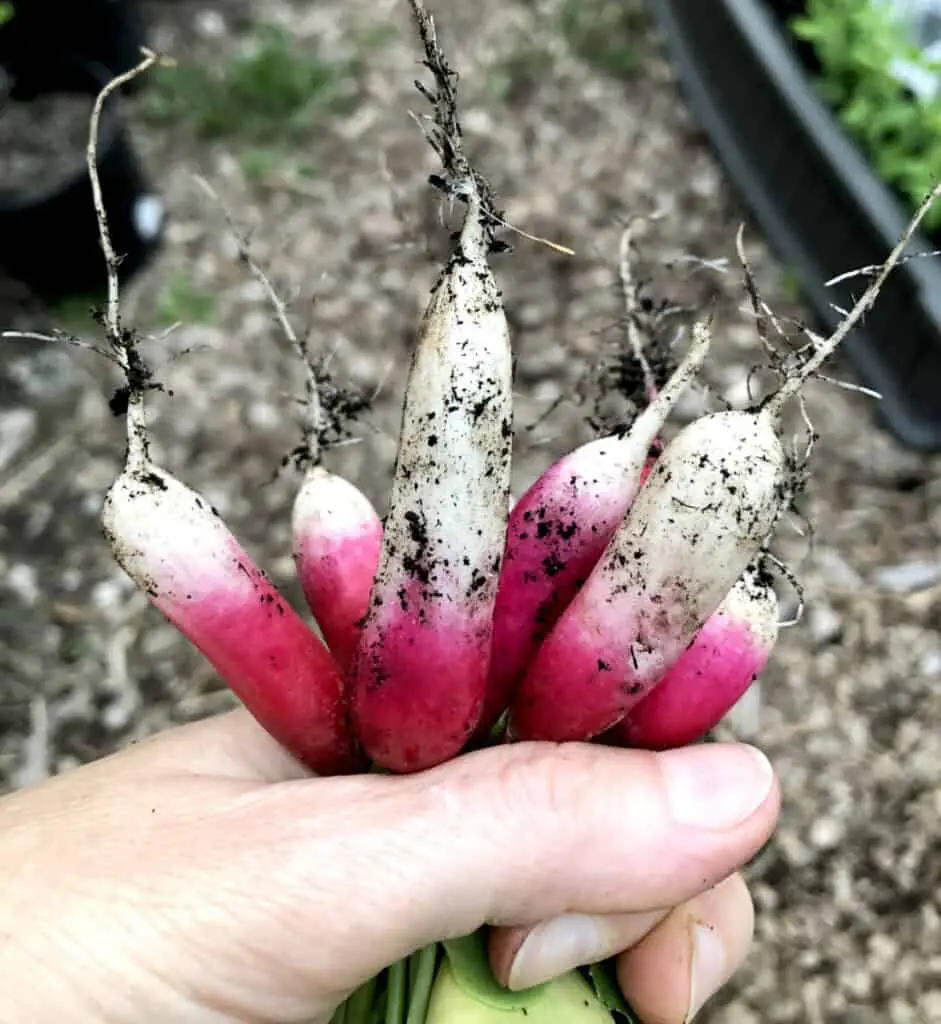
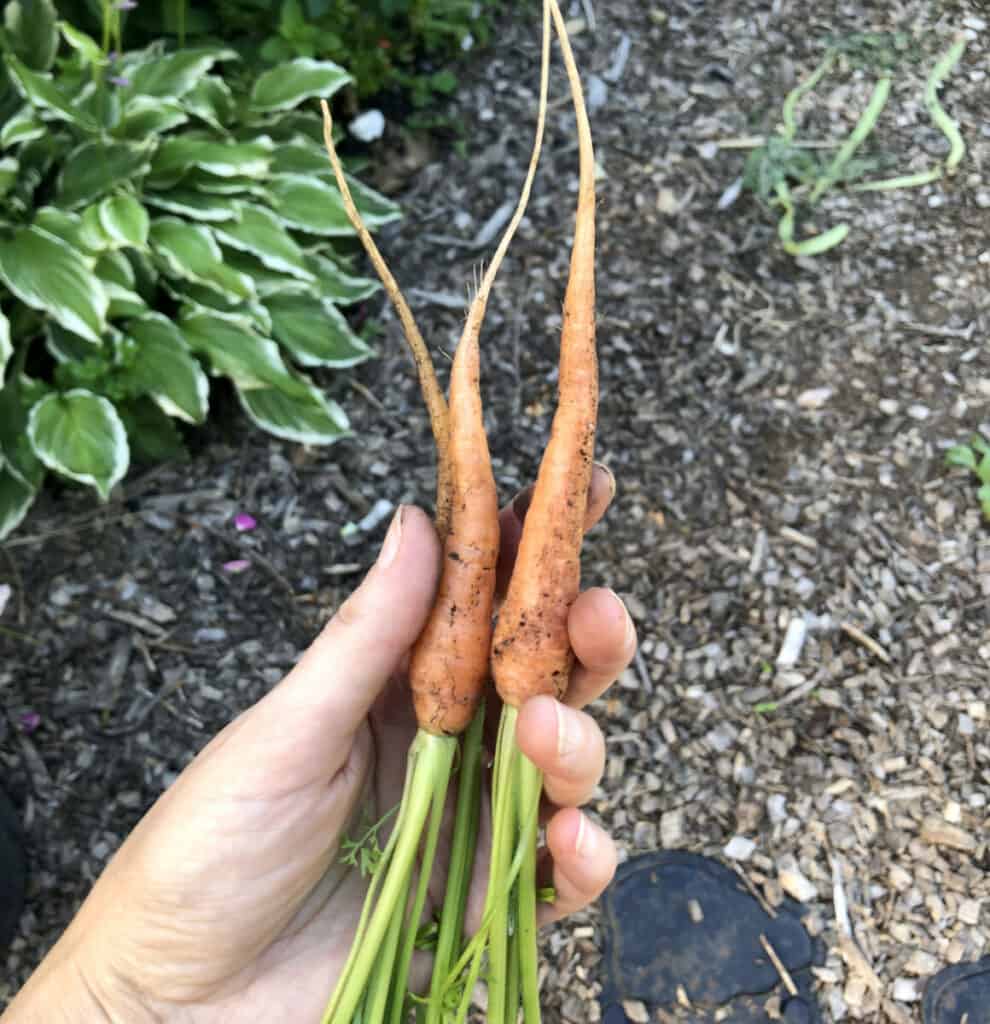
A vegetable that can be harvested in one month is arugula, spinach, radish, lettuce, mustard greens, mizuna, Swiss chard, turnip, and radish. And baby vegetables like baby root crops including beets, and carrots, you can also eat greens of your root crop. Another vegetable you can harvest in one month is baby greens including baby kale, and baby bok choy. Let us not forget that you can sow, harvest and eat sprouts, and microgreens, which are sweet, crunchy, and full of nutrition that can be grown in less than one month!
Let us look closer at the vegetables that can be grown and eaten in just one month.
What are sprouts
Sprouts are germinated seeds of vegetables. They are basically microscale vegetables that are harvested and eaten soon after they germinate. They are premature vegetables. Sprouts are produced after the seed starts to germinate and start to grow into a vegetable that you harvest prematurely.
How to sprout seeds: how to grow sprouts
- Day 1: Add 2 tbs of seeds to a 32 Oz glass jar. Fill up the jar halfway with water and mix. Let the seeds soak for 12 hours in dark at room temperature, or overnight. You can store them in a kitchen cabinet which will provide dark and warmth.
- Day 2: Drain the seeds using a mesh strainer. Rinse the seeds with clean water and drain thoroughly all access water. Store overnight at room temperature in dark.
- Day 3: You will notice that the seeds opened and sprouted. Rinse the seeds and drain access water and store them in a dark, warm place.
- Day 4: Sprouts are noticeably bigger and keep on growing. Rinse the sprouts twice now since the seeds have grown substantially and need a good thorough rinse.
- Day 5: Today is a WOW Day! Your sprouts are getting bigger and producing tiny pale leaves. So close to harvesting them! Rinse them twice thoroughly and drain. This time you will place them close or on your window sill for the leaves to green up.
- Day 6: Harvest time! Your sprouts are ready to be harvested. Most of the leaves are nice and green in color. Rinse. Place your sprouts in the bowl, fill it with water, and watch the seed that did not sprout float on top. Strain those seeds that didn’t sprout and toss them. Enjoy the sprouts!
Sprouting seeds is not that complicated. In fact, they can sprout in only 6 days at which point they can be harvested and eaten. You can sprout seeds of broccoli, alfalfa, radish, kale, arugula, clover, fenugreek, mung beans, cabbage, cress, and lettuce, to name a few. Grain can be also sprouted and eaten as sprouts. Popular grains to sprout are wheat, rye, oats, spelt, kamut, quinoa, millet, and amaranth. Lentils, yellow peas, and garbanzo beans can also be sprouted. In fact, one tablespoon of seeds can yield approximately 1 cup of sprouts.
How to eat sprouts
Sprouts are mostly eaten raw in sandwiches and salads. They can be sprinkled raw to add crunch and texture to noodles, soups, and any meal really. They can be added to sauteed meals and stir-fries toward the end of cooking.
What are microgreens
Microgreens are seedlings of different herbs and vegetables that are harvested right after they developed a set of true leaves. Their approximate harvest size is 1-3 inches. They not only look beautiful, but they add color, texture, height, and flavor to various dishes. They are delicious and each type of microgreen adds a different flavor to your meals. They are easy to grow and can be harvested in 11 days to about 3 weeks. You can grow microgreens from seeds like nasturtium, sunflowers, wheat grass, peas, salad mix, chives, and root vegetable seeds like turnips, also broccoli seeds, arugula, watercress, radish, onion, and cabbage to name a few. Microgreens are rich in nutrients and antioxidants.
How to grow microgreens
- To grow microgreens, you will need a tray to hold the soil and microgreens in as they grow. Fill the tray with a moist soil mix, and sprinkle the seeds, let’s take lettuce seeds for example, on top of the moist soil and spray with a spray bottle to cover the seed with some more moisture. The soil and seeds should be moist, not wet.
- Seeded trays can be covered with plastic and placed in a dark and warm place to germinate.
- In just three days you will see that the seeds have started to sprout. Once the seeds sprouted, it’s time to add plenty of light. Microgreens can be grown outside on the location which provides warmth and lots of light. If you grow them indoors, a grow light can be used for the best results. If the light is insufficient the microgreens can get stretched and leggy. Provide plenty of sufficient light for healthy microgreens. Healthy microgreens look solid and bushy. They need at least 12+ hours of light a day.
- Inspect your microgreens often during the growth process.
- If a spot of mold is developed, it needs to be treated immediately. Sunlight can kill light mold, so bring your microgreens to sunlight and increase airflow. Spots of mold can be also treated using a 3% food-grade hydrogen peroxide in a spray bottle to mist the spots. You can treat the spots of mold using vinegar or grapefruit seed extract.
- If the mold is prolific, the whole tray needs to be scraped, thoroughly washed with soapy water, rinsed, and dried before the next use.
- Do not let the soil dry out. Do not let the microgreens wilt. Make sure the soil is moist. You can lift the tray and consider if the tray is very light, it means it needs to be moistened. If the tray is too heavy it probably holds too much water and your microgreens can drown or mold and rot can develop.
- Check for water especially as leaves grow and more leaves develop.
- In about two days after adding plenty of light you will see the seedlings greened up.
In about 11 days to 3 weeks depending on what seeds you grew into microgreens you will be able to harvest and enjoy these tender greens. Microgreens are ready for harvest as soon as they develop a set of true leaves. You can use sheers, scissors, or a sharp knife to harvest your microgreens by clipping them off about an inch above the soil surface.
How to eat microgreens
Microgreens can be eaten fresh as a main salad or added to any salad as a component, and sandwiches, and burgers. They can be used as toppings in soups, pizza, as a garnish to any meal really. They can also be juiced or added to a smoothie. Microgreens are a great side dish, they add texture, color, and height to any meal.
What are baby vegetables
Baby vegetables are a miniature versions of full-sized vegetables. They can also be called mini or petite vegetables. There are two types of baby vegetables of which one are immature vegetables picked before fully grown, while the other type is dwarf vegetables that were cultivated to be fully ripe while staying miniature in size. Some very familiar baby vegetables are baby carrots, baby corn, baby beets, and baby scallopini squash.
How to grow baby vegetables
Baby vegetables can be grown in compact containers and close together since they are small in size. They will do great in a container garden or limited spaces or if you are short on time. They grow best in compost-rich and moist soil. Keep the soil moist, but not wet, and do not let the soil dry out. Baby vegetables are tiny so they are very sensitive since they hold a small amounts of water and can wilt and get stressed quickly.
If grown from regular cultivars, they can be sown as regular cultivars but harvested way before they reach their full maturity in size, meaning they are harvested prematurely when they are about 1-3 inches in diameter.
Growing baby vegetables that were cultivated to be dwarf size, are grown the same way as regular vegetables but harvested when they reach their full dwarf-size maturity, anywhere between 1-3 inches. Dwarf vegetables are quickly maturing.
How to eat baby vegetables
Baby vegetables taste best when eaten right after they are harvested since they are very sensitive and can wither more quicker than full-size vegetables. Since they are small in size, baby vegetables are mostly served whole, they are delicate and tender. They go well with dips. They can be added to salads for flavor and texture, as well as to any meal as garnish to add color, flavor, and height. Baby vegetables taste great sauté in butter or gently steamed for about 2-3 minutes.
A vegetable that can be harvested in one month at their full maturity as regular cultivars are mostly leafy greens like arugula, spinach, lettuce, mustard greens, mizuna, and Swiss chard. Some root vegetables like radish and quick maturing turnips can also be harvested in their full mature size in just 30 days.
What is the easiest food to grow for pantry storage?
Most high-yielding fruits and vegetables to grow in pantry stocking garden
