
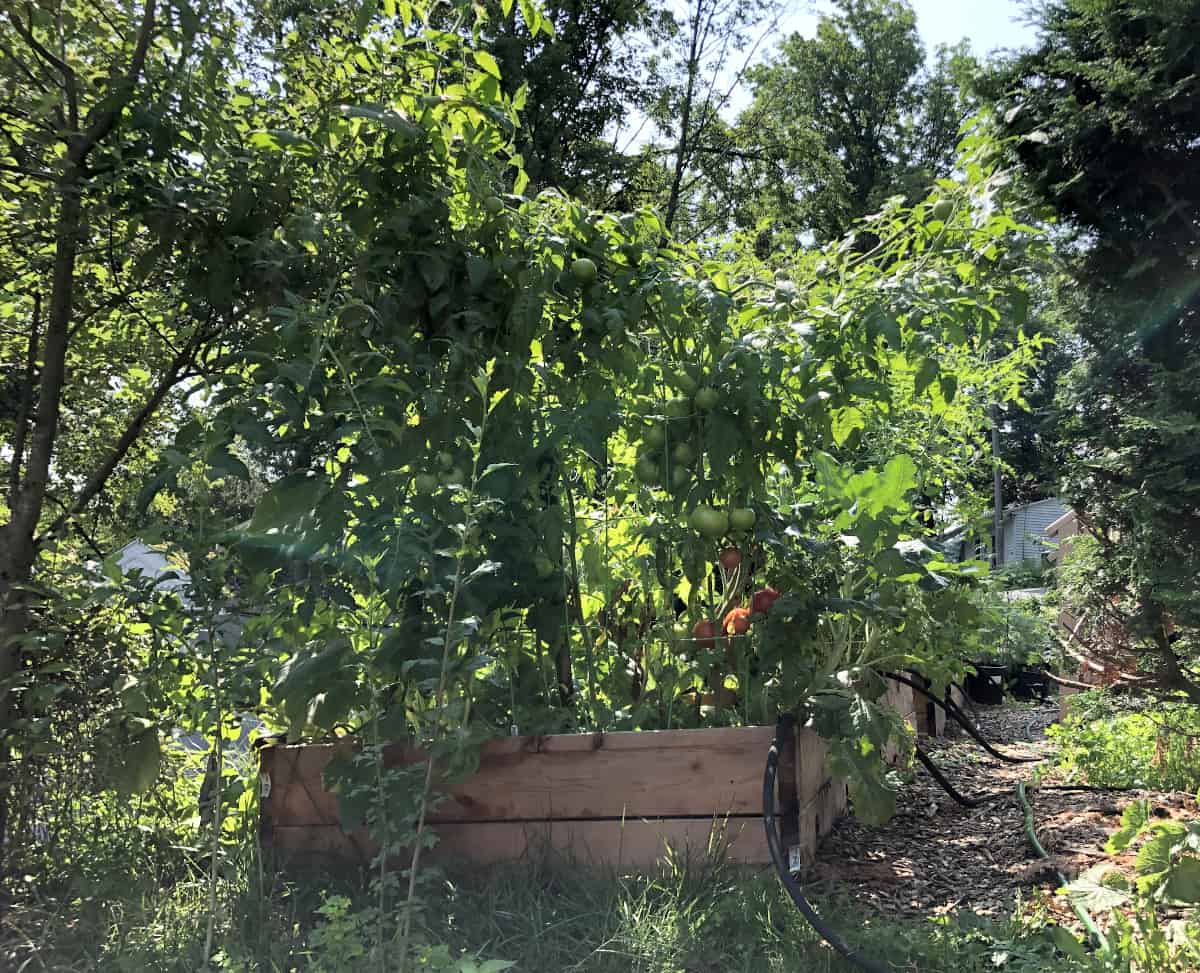
A raised bed garden is a garden in which the soil is raised above the ground level contained in what is called a raised garden bed. Raised garden beds can be constructed using materials such as wood, metal, plastic, rocks, concrete, and other available materials that would hold the soil in place. Raised garden beds can be of any size and shape.
To construct a raised bed garden
- Select a proper location for a raised bed garden
- Prepare your garden supplies and garden tools
- Plan your garden and draw a layout on the paper
- Measure your garden and measure the size of the garden beds
- Prepare the area
- Construct raised garden beds
- Install a fence if you choose to fence the garden in
- Fill your raised beds
- Sow seeds and plant the seedlings
- Water your raised bed garden thoroughly
- Care for your raised bed garden and plants
How to select a location for a raised bed garden
When constructing any type of garden, always choose the location with the most sunshine. The ideal location for a raised bed garden should be sunny with at least 6+ hours of sun, flat, protected from severe winds, and with no objects that could cast large shadows into the garden for prolonged hours. Select a location close to your dwelling that will encourage you to tend to your garden more often. Since a garden needs at least 2-3 times a week watering, it should be placed close to the water source. When it comes to a raised bed garden, this type of garden can be placed on any stable surface since the soil will be above-the-ground raised beds.
If you are starting your first garden, start small. Gardening can be a labor of love. Start small and see if you like to garden. The more you enjoy it, the more you will expand it according to your capabilities and needs. If you do not know how the size of a garden is good for the beginner gardener, please visit my other article How to start a vegetable garden, How small garden to start with?.
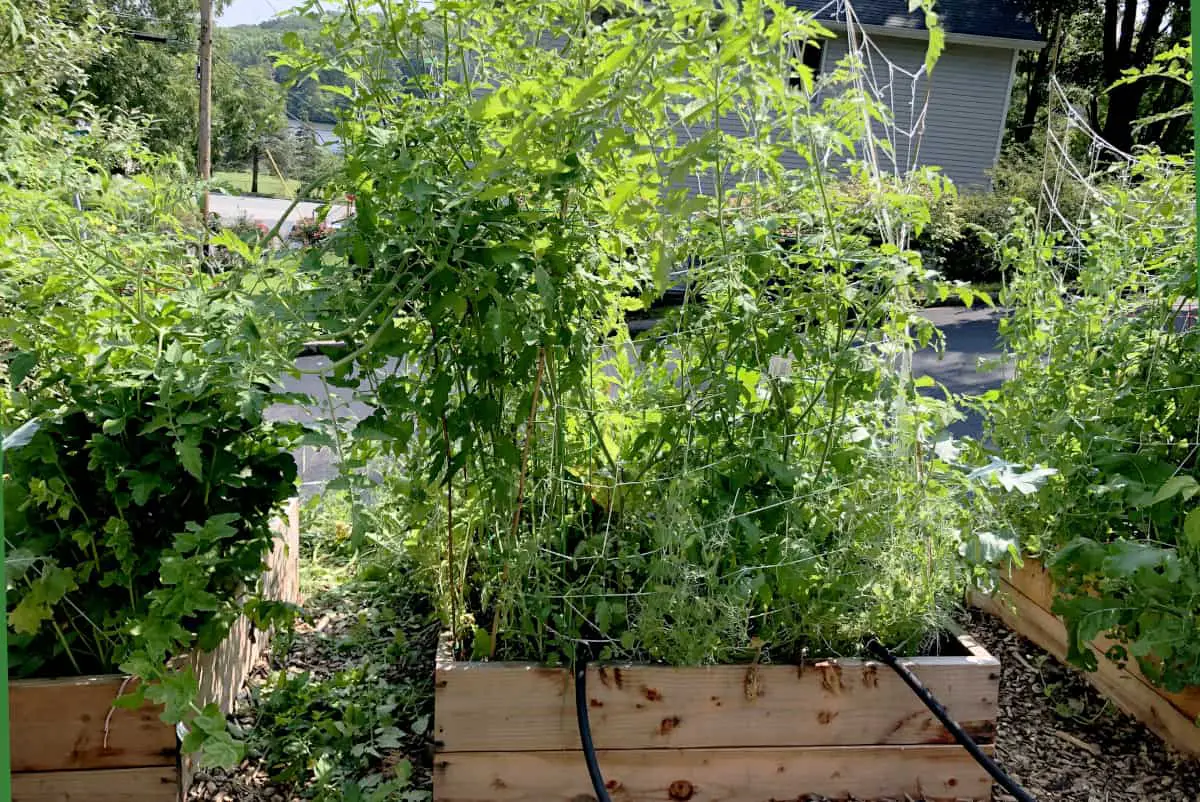
A raised bed garden is a great option for the location with poor, clay and heavy soil conditions. In a raised bed garden, you control what soil you will fill your garden beds with. For some gardeners planting in an in-ground garden it might take time to build the soil up to the quality soil. In a raised bed garden, there is much control over the quality of the soil.
If the concrete, gravel, or other inorganic nonsoil related surface is the only option for you to turn into a garden space, then a raised bed garden would be a great type of garden for you. Garden beds can be of any height, size, and shape. Raised bed gardens are ideal options for those with immobility, and some physical challenges, and for the elderly, as raised beds can be built as tall and of the sizes and shapes to accommodate specific needs comfortably.
Garden supplies needed to construct raised bed garden
- Material and tools needed to construct raised beds of your choice
- Garden rake
- Garden shovel
- The soil of your choice
- Mulch to mulch the surface of the garden
- Watering can, watering hose
- Gardening gloves
- Wheelbarrow
- Fence if you desire to fence your garden which is highly advised
- Kneeling pad if your garden beds are on the lower side
- Weed barrier of some kind if you choose to create a weed barrier between the ground and the bottom of the garden beds
How to plan a raised bed garden
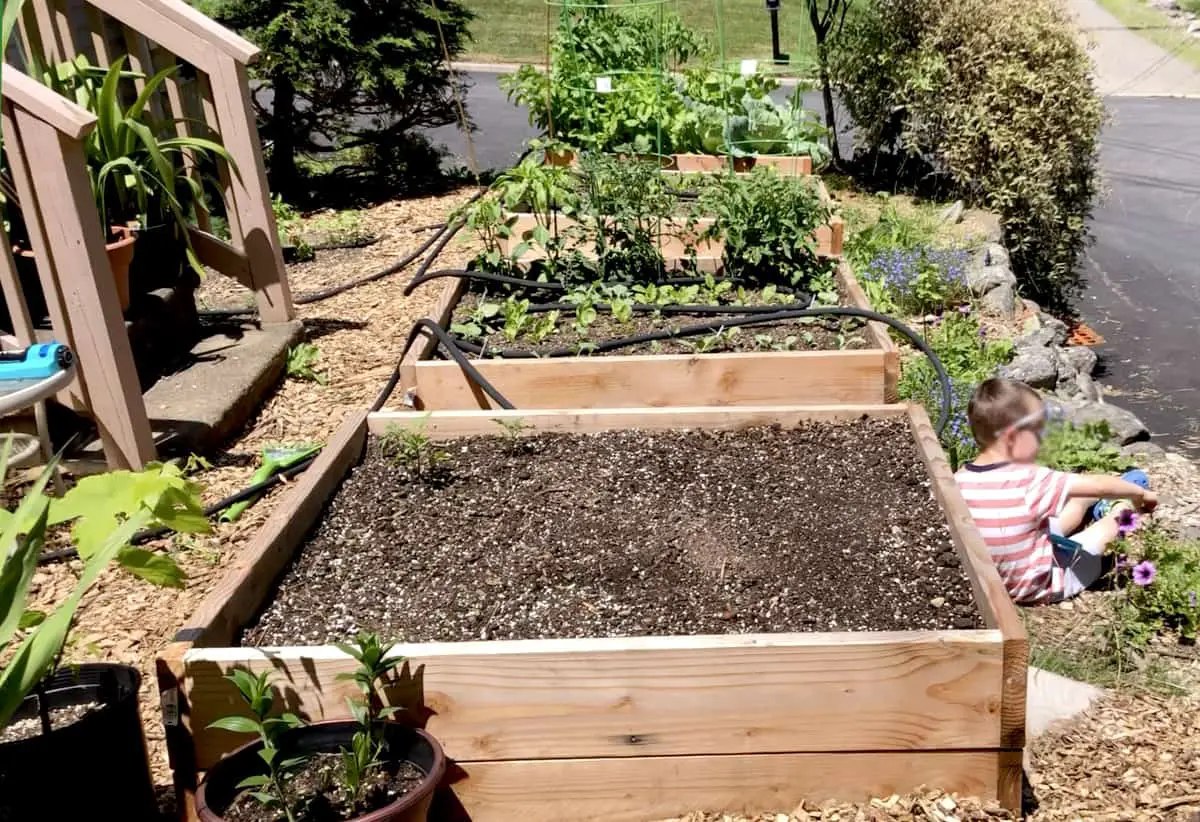
Use a sheet of paper to plan your garden first. Draw a shape of the garden and then draw raised garden beds. Most gardens and raised bed gardens are rectangular or square in shape. Draw the layout of your garden beds including the spacing between the beds with a minimum of 3 feet between the beds if they are taller ones. For the shorter garden beds, a 2 feet-wide path will do. Make the path as wide as to accommodate a wheelbarrow and bulky tools, and to accommodate you comfortably walking around your raised garden beds. In the drawings, include additional objects and sections of the garden such as a shed, a compost bin, a section for the compost pile, and so on.
It is very important when starting a garden, to put it on paper first. Take your drawing and go to the site and visualize everything if it will work in reality. While the garden is just on paper, it is easy to adjust and move things and areas around. However, do not be afraid to move things around and deviate from the drawings when you start to build a garden and discover that in reality, you need to move things around. A drawing is to guide you and give you some perspective, not to discourage you from moving things as they need to be moved. In my experience almost no garden is final and things always move around in some way.
How small garden to start with?
How to start a vegetable garden
What raised bed for the garden is best
A best-raised bed for a garden is from a durable, non-toxic material that holds soil well contained.
Decide what material you desire to use to construct the garden beds. You will need the material of your choice to construct the garden beds and the tools needed to construct them. If garden beds are bought, follow the instructions they came with
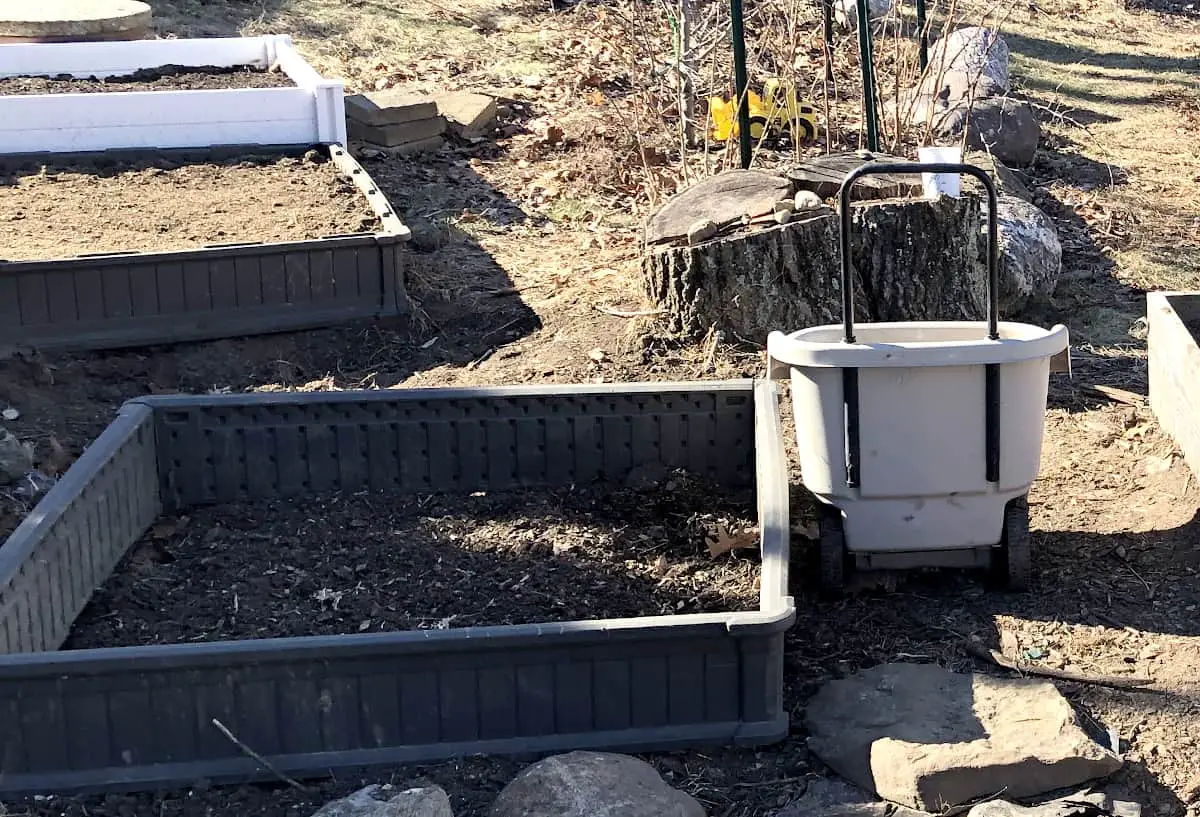
Here is my experience with garden beds materials. Choose what material you want your garden beds to be. I have my garden beds made from wood, some made from treated wood, some from non-treated wood. I also have plastic raised beds and I really like them. Each material has its own advantages and disadvantages. Wood is natural, but nowadays expensive and it is so heavy to move a wooden garden bed around. On the other hand, plastic is light and is very easy to move around. I have some wooden beds that are five years old and they still look great. I have some plastic beds that are about three years old and they also look great. But I prefer plastic garden beds over wooden ones, just because of how light plastic garden beds are. They are durable too and are easy to put together even with no tools. The two types of plastic beds I have come as building blocks that fit into each other. I had them assembled all by myself in couple of minutes with no hustle. To construct wooden garden beds, I had my husband do it and carry it to the location too. Currently in my area, wood is also very expensive and it is a hustle to put a wooden garden bed together. Thus, I prefer plastic garden beds to wooden ones. Regarding other materials, I once build a garden bed using concrete blocks. Well, never again! It was time-consuming to lay each block on top of the other, it was labor intensive and they were falling out of bed while well into the growing season. It was hard to construct, and I had to bring, place, and carry away each block individually when assembling and disassembling the bed. It also looked very unattractive. I would not recommend building a garden bed using a million pieces. If you get a plastic garden bed, you just put four light pieces together that fit together and that’s it. Easy to build, easy to move.
I might try to use metal garden beds yet, but since they are very expensive at this time, I do not plan to buy any for this growing season. Shall I decide to build a metal raised bed for my garden, it would probably be an alternative to the commercial metal raised beds. I would most probably use two pieces of a galvanized window well to construct a metal garden bed which is much more cost-effective than a regular commercialized metal raised bed. But for now, I just prefer to look for plastic ones when looking.
TIP: I found all four of my plastic garden beds on an online social network and marketplaces. I simply look for plastic garden beds there. They are very cost-affordable in those places since many people start gardening and then find out they do not like to garden. Then they try to get rid of their garden beds as soon as possible to cash at least something. Many also gift raised bed gardens to others who don’t even like to garden, and then the receivers just want these garden beds off of their hands, because they are so bulky to store with no use. Hence, you can get the best deals or even free garden beds! I love to shop in my local community! Look around your community and even ask around for garden beds.
If you have a raised bed garden, please let us know in the comments, what raised beds are your favorite and why.
How to build a raised bed without tools?
To build two raised beds that are 4 ft x 8 ft, you will need sixteen 8-inch concrete corner blocks, and three untreated wood boards measured 2 inch x 12 inch x 16 feet. Ask the workers at the store you buy the wood from cut two of the boards in half and the third one into four equal pieces. Once you have all the materials, stack 2 corner blocks into each corner of the raised bed. Slide in the boards. Your garden bed without tools is ready to be filled with soil.
This wooden raised bed is one of the easiest ones to construct DIY garden beds. And the big plus is no tools are required.
How to fill a raised bed
- If you desire, cover the bottom of the raised bed with a weed landscape fabric to prevent weeds. I do not do that because I eventually want to have the ground under the raised bed fertile too for large root crops and for the roots to grow all the way underground. I use to cover the bottom of the garden bed with cardboard or layers of newspaper, then with wood chips.
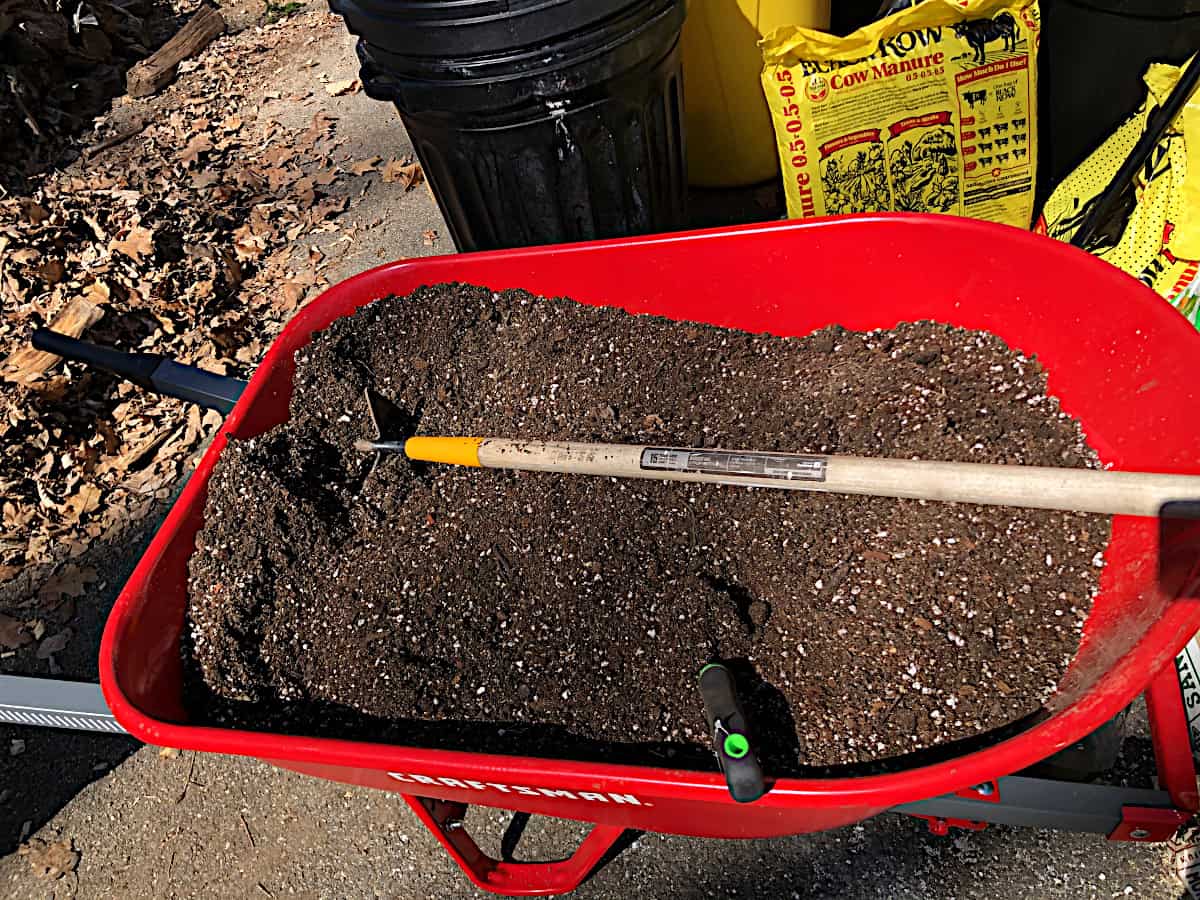
- Fill the bottom of the raised bed with bulkier and chunkier fillers like pine cones, logs, and twigs. Then add smaller organic matter like grass clippings, shredded paper, paper rolls, and kitchen scraps. These are the bottom fillers to fill the lowest part of the garden bed. They will eventually decompose over time providing your plants with fertilization. It will also help to save the cost of the soil needed to fill the rest of the garden.
- To set your plants for the best, fill the rest of the raised garden beds with soil that drains well while still retaining moisture, soil that is fertile and full of organic matter.
- Now your raised bed is ready for planting
DIY raised bed soil mix recipe
If you would like to mix your own garden bed soil mix, here is how to do it. Mix 3 parts of compost, with 1 part of coco coir or peat moss, and 1 part of vermiculite or perlite. I like to also add worm casting and Azomite rock dust. Mix well and fill your garden beds.
How to install a garden fence
Choose a fence that is practical and effective to protect your garden. The most used is a garden fence wire tied to metal fence posts. Start with burying metal fence posts in the ground at least one foot down. Then fasten the garden fence wire to the posts using metal fasteners or zip ties. It is easy to attach the wire fence to the posts since posts have hooks on their sides. For extra protection and effectiveness of your fence bend the lower one foot of the fence to an L shape, so the one-foot stays lying on the ground while the rest of the fence is erected. The one foot of laying fence on the ground is to create a barrier for the pests that might dig under the fence and enter through the hole underneath. You can choose to mulch the one-foot wire barrier with wood chips. Some gardeners choose to even bury down part of the fence as a barrier to combat groundhogs, and any animals that like to dig underwires.
You probably know what wildlife crosses your property and what you need to protect your garden from in your local area. But with more food growing in your yard, you would be surprised to find that there are even more pests that wait with you to get the first fruits of your hard work and they are much faster to harvest than you. A garden fence is essential when growing a garden. If you can put up a fence, just do it.
How to sow seeds and plant the seedlings in raised beds
For planting seedlings, make a hole using a dibber or a garden trowel as deep as the pot the seeding is in. Place the seedling in the hole and cover it with soil. Tamp the soil around the base of the plant. Water at the base of the plant thoroughly. To sow the seeds, make holes using your fingers or make rows to cradle the seeds in and plant the seeds in it. Then cover the rows and tamp the soil. Water well. The rule of thumb is to plant the seeds at a depth equal to three timers the seed diameter. The smaller the seed, the closer to the surface it should be planted. The spacing of the seeds is also important when sowing. Seed spacing and the depth of sowing can be found on the seed packaging. If no information is available, then allow as much pace as the mature plant would need. Label your plants and place where you sow the seeds.
I have provided you with detailed information about how to plant a seedling in one of my articles When and how to plant a seedling.
Labeling plants in the garden is important, especially if you have someone helping you take care of them, or if the rest of the family will harvest alongside you. I invite you to read Why to label plants in the garden and how to label them. If you are like me and would like to have your plant labels free for the rest of your life, visit How to make your own free DIY plant labels and why
How to water raised bed garden
Always water your plants thoroughly and deeply. Water our plants from the base rather than overhead. If watering overhead, most water ends up on foliage which leads water out and away from the plant and roots. If you water at the base of the plant, all the water goes to the roots underneath the surface. It saves you water and makes your plant healthy without any water lingering on foliage. As an industry standard, a garden is usually watered 2-3 times a week providing your garden with 1 inch of water a week. To find out if your garden needs watering, feel the soil with your finger. Stick a finger into the soil and if you feel the soil is moist, it does not need watering. If you feel the soil is dry and crumbly it does need to be watered. The best time to water a garden is in the morning.
Giving 1 inch of water a week to your garden might seem confusing, therefore I have written How and when to water a vegetable garden, in which I explained how to measure 1 inch of water a week and what it means.
There is even a time when you should not water your garden, please visit When you should not water your garden, for more information.
The best time to water a garden is in the morning, read Should you water garden in the morning or at night, in which I also explain why and what is the second best time to water if mornings are no option for your schedule.
How to care for your raised bed garden and plants
- Water your gardens deeply and as needed, remember that the soil in raised beds dries quicker than in the in-ground garden
- Feed your plants regularly, and care for them according to the instruction on their packaging
- Maintain the walls, the seams, and the corners of beds as needed
- Mulch the top of the soil to keep the moisture in and weeds out
- Weed as needed
- Inspect your plants often for pests, invasive insects, and disease
- If infested, tread the plants, or the soil as needed
- Remove disease plants
- Protect your plants from frost by covering them with frost cover
- If you are located in a climate with intense sun, protect your plants with shade covers
The benefit of a raised bed garden
- In spring, the soil in raised beds warms up quicker than the soil in the ground allowing a longer growing season
- The soil in raised beds when properly prepared drains well and provides good growing conditions
- The height of the raised bed is built to accommodate your needs. They are great for those with handicaps.
- Less weeding
- Less bending
- Less watering compared to a container garden
- The soil in the garden beds can be easily controlled
- Easier harvesting
- Can add an architectural element to your landscape
- Can be built into a slope, providing a way to garden for those with an uneven lot
Drawback of a raised bed garden
- You have to buy the soil and need to find extra materials to fill it
- Cost of the building material
- Labor to build raised beds
- Soil dries out faster than in an in-ground garden
- Raised beds need to be maintained over time
- Hard to move once set up
In conclusion, I absolutely enjoy gardening with raised beds. A raised bed garden works for me and my location the best because it allows me to protect my crop from critters, short animals, and pests that can’t get in unlike in my in-ground garden. It keeps moisture longer than a container garden. I get to control the soil and weeds, I weed my garden beds very little and have no problem with weeds. And most important, I garden on a slope and can easily adjust, dig in and level my garden beds to accommodate the height differences of the slope. I get to sit on my wooden garden beds while working. While in-ground beds look a bit like graves when bare, my raised beds look great all the time. I can also easily attach netting, net support, and trellises to the raised beds.
If you have a raised bed garden, please share with me and our readers your joys of gardening in them.
How to construct a no-till garden for beginners
What is the best type of garden for vegetables?
How to build an in-ground garden for beginners
How to start a container garden for beginners
Vegetables that need very little space
Most high-yielding fruits and vegetables to grow in pantry stocking garden
