
I remember so well when I finally had harvest to store! Hip, hip, hurray! Finally, my garden produces more than we were able to eat and I was proudly storing some food grown in my organic garden away. I was so proud and happy. That year I stored butternut squash, spaghetti squash, a couple of pieces of other winter squash, carrots, parsnip, garlic, and herbs. But, boy was I excited! I would like to share what storage method worked well for me and what storage also failed me. Yes, I had some failures, but that’s ok, I learned a lot from them.
The most common ways you can store your garden harvest is by storing it on shelves or in vessels at cool temperatures, by freezing, by drying, or by fermenting. A little more advanced method to store your garden harvest is by canning or freeze-drying. Canning and freeze-drying will require special equipment and practice.
What are the easiest ways to preserve the harvest?
The easiest ways to preserve harvest are storage, freezing, drying, fermenting, and canning if you are up to it. Each gardener has their own way to garden, their own method, and the same goes for storing their harvest. Just pick the preserving method that works best for you and the one that you are able to keep up with.
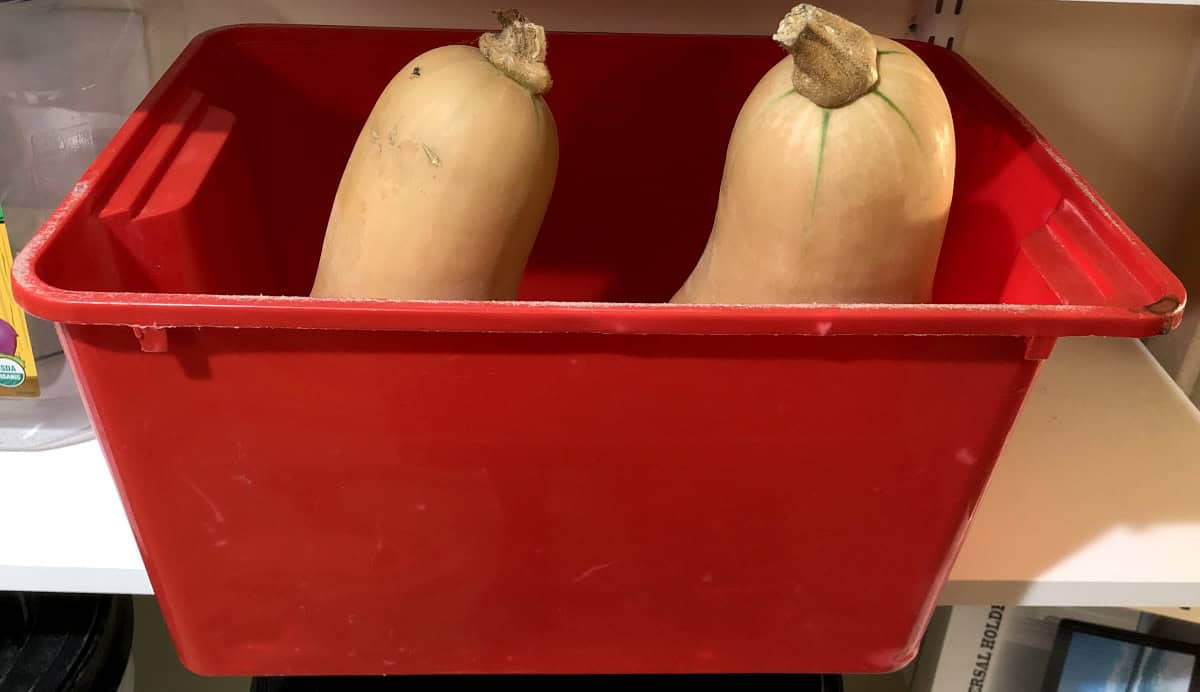
Let us look closer at the easiest and most common ways to preserve your garden harvest and stock your pantry. The easiest is shelf storage, it’s the way where you store your produce simply by sitting on shelves, putting in cardboard boxes, paper bags, or crates in a cool room inside your home, apartment, basement, closed. If possible, choose a room that stays below 60 degrees Fahrenheit and doesn’t go below freezing. This method is my favorite method because it involves the least work and works great but not for all veggies. The only room where I can store my crop is our basement with a temperature of 68F. That’s the best I can do. Find out what is the best you can do and work with that. There are certain guidelines on how to store food, but let’s be frank, most of us live in conditions where we are not able to provide just the perfect environment. Keep in mind, the guidelines are to guide us, but if we can’t accommodate the perfect conditions, we just work with what we have and might find out that our produce might be doing just fine. I store my winter squash in a dark basement with an average temperature of 68F and they last me full 12 months. Do I have a perfect temperature? No. Do I have perfect humidity? No. But I still keep my produce on the shelves and it’s just doing just fine.
Other vegetables you can store in paper bags or simply dry and just hung in a cool dark spot are garlic and onions.
I shelf-store my shelling beans as well. After I harvested them, I put them in a mesh laundry bag and hung them. Beans are doing fine. They dried hanging there and stayed there through winter. Beans are completely dry and happy in the shed. When the time comes and I need to cook them I will just take as much as I need. It was so easy to store them after harvest.
The experienced gardener, probably a busy parent and a full-time working or stay-at-home parent, knows that the easier is to grow, harvest, and store the veggies the better for us. I strive to make my gardening and storage as easy as possible. Sometimes I fail, and I learn from it. But most of the time simplicity works best.
Not all I touch works out great. I learn from failures mostly. Here is what storage failed me in the past year. I stored my carrots in damp sand in 3-gallon buckets. I had 2 full buckets of carrots in damp sand placed in the basement. A couple of weeks later I checked on them and they had all gone bad, mushy. All harvest ruined. I wasn’t happy, but wiser for sure. Both buckets ended up in my cold compost pile, at least I will have some nice compost from that that will go back into my garden. I learned that next time I shouldn’t put all my eggs into one basket. I will store my harvest multiple ways next time, if one of them fails I will have some left. Next time I plan to store my carrots in the freezer and in a root clamp I will dig outside and insulate it with leaves. Yes, I will store my produce two ways, as two ways are better than one. There will be only a 50% chance of failure rather than 100%, something shall go wrong.
Many times, I watch videos where expert gardeners overcomplicate things and use expensive gadgets that you totally don’t need, gadgets or tools to make things more complicated. I don’t fall for nonsense. I am all for simple and effective ways to garden, same goes for storing my harvest. If things get too complicated, I know I won’t have time or energy for them. I keep things as simple as possible. What counts is if I get it done and have my pantry stocked.
The more you garden, the more you will learn about all these things I just mentioned above and you will find out for yourself that there are many steps, and rules in gardening and storing the produce that you totally don’t have to do and your garden and harvest will be just fine. My blog is about getting things done and keeping them easy and doable, not complicated, fancy, and expensive.
How to freeze harvest
Most vegetables freeze well. If I would have enough space and a full guarantee of continuous electricity without disruptions, I would freeze most of my harvest. But in this nonperfect world, I have to store the harvest in multiple ways just in case one of them fails. I also have very limited freezer space so I am very mindful of what I put in there. First is meat that goes in, and then vegetables that I can’t store on my shelves. In my freezer, I currently have my parsnip, corn on the cob, and some herbs frozen in olive oil. Cauliflower, shredded, cut-up zucchini, broccoli, carrots, and onions, all freeze well.
How to dry harvest
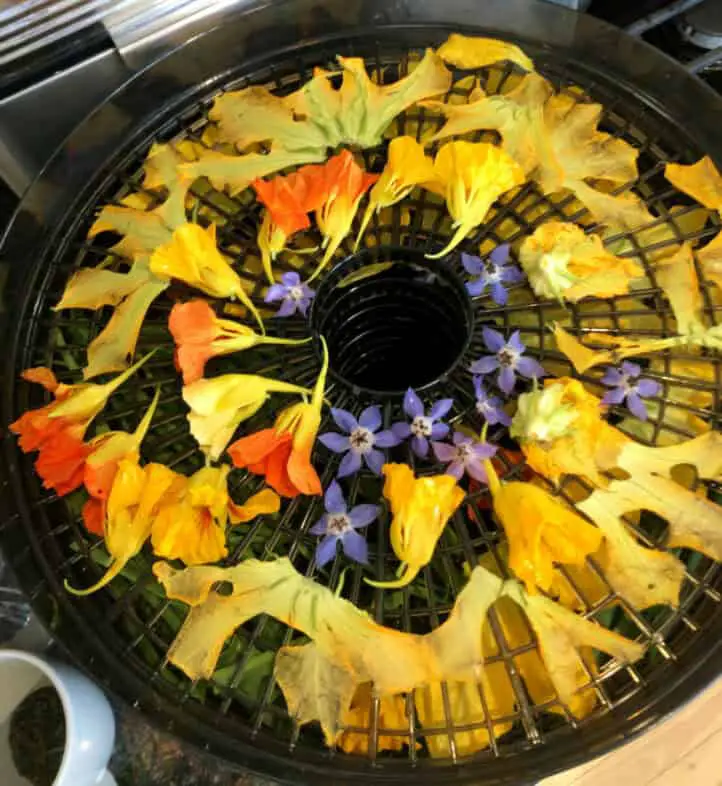
Another way I like to store some of my harvests is by drying, also called dehydrating. I got my food dehydrator totally free from Facebook. One person’s garbage is another person’s treasure. This was my case regarding the food dehydrator. The one I got for free was in perfect condition and works well. It’s an old type so there is no timer, no digital display, and I have to operate it manually. But I find nothing wrong with it, hey it was free, and get things done. I use to dry hot peppers in my dehydrator mostly. I dried some zucchini and tomatoes. But I found out I never used dehydrated zucchini and tomatoes became as hard as rocks. So, I won’t be dehydrating zucchini and tomatoes in it anymore. I will use it only for hot peppers.
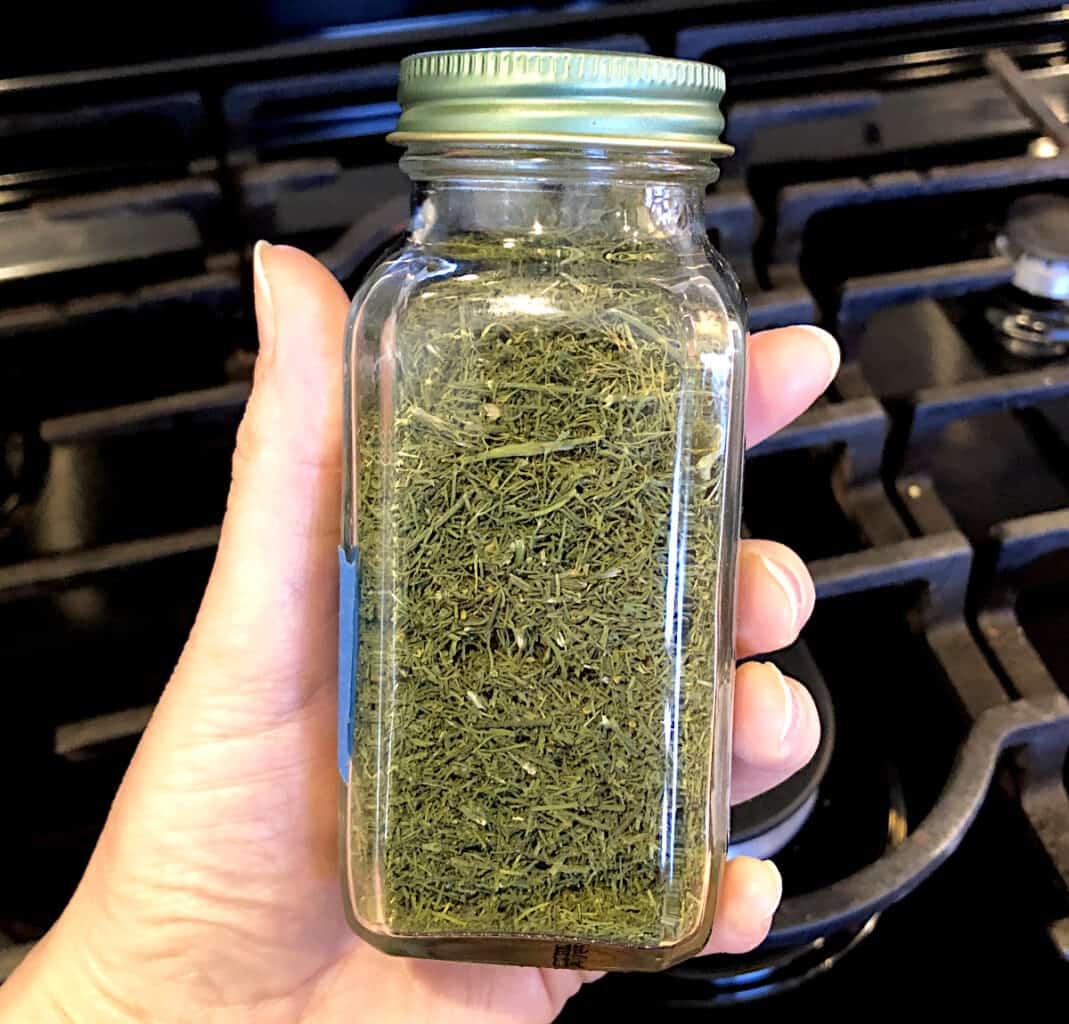
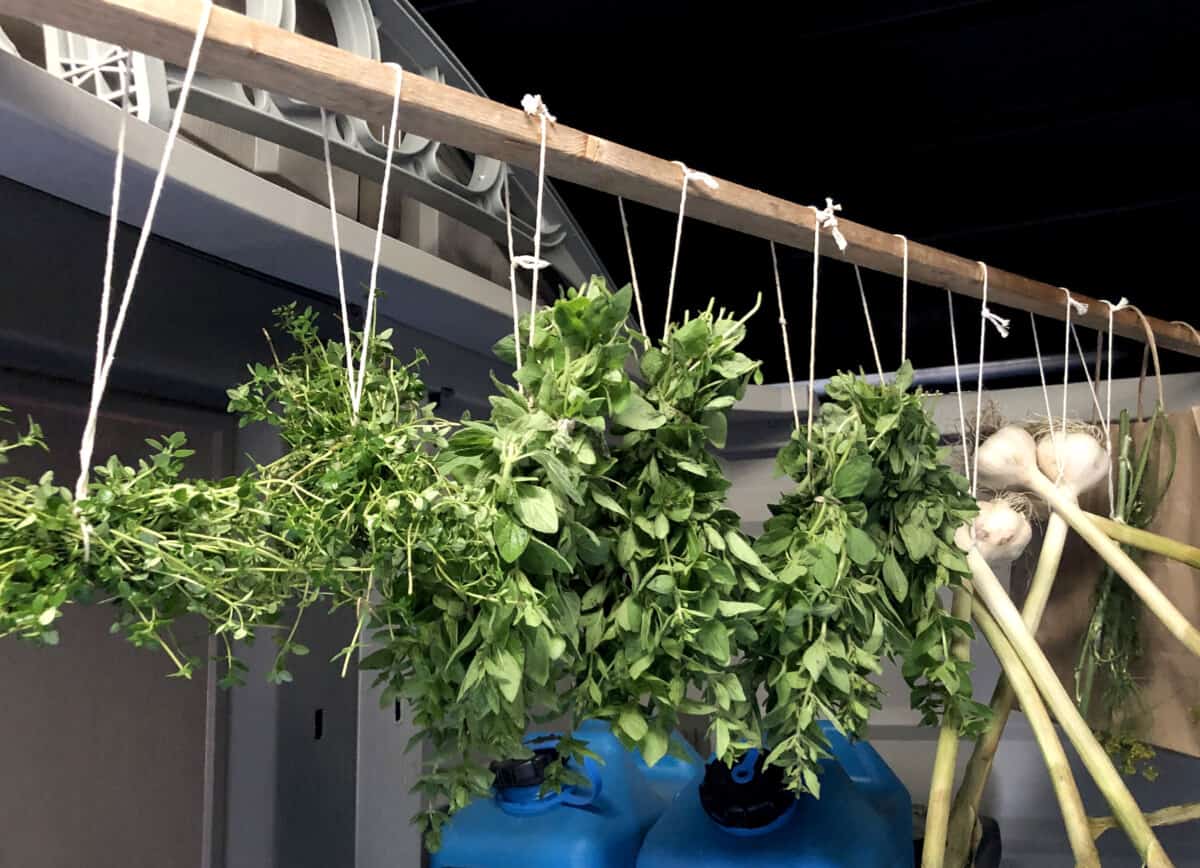
I like to dry my herbs though. But I use an even simpler method to dry them without a food dehydrator. I simply harvest my herbs in bunches, wash them thoroughly, tie them in bunches using cotton twine, and hang them upside down in my shed. It requires no electricity, it’s not time-consuming, I can hang them and take them off when I have time and it takes no extra space or preparation. After my herbs are completely dry I shred them with my hands and store them in plastic or glass containers. That’s it. These are herbs I use this winter that came from my garden: rosemary, thyme, celery leaves, mint, lemon balm, cilantro, and basil. I also had lovage, but it’s long gone as my lovage plant was still young and needed time to grow and mature more. I hope this year my lovage as well as nettle to be mature enough to be harvested multiple times.
If everything goes well, I might harvest strawberry and raspberry leaves as well to make some delicious tea.
How to ferment your harvest
The next easy-to-store food method is fermenting. It is my favorite method too as it doesn’t necessarily require refrigeration or any extra equipment. I enjoy fermenting cucumbers. And I have 2 full plastic boxes of them in my wine cooler where I also store my amaryllis bulbs collection. Since I didn’t have enough cabbage last year to ferment, I hope this year will be more successful. Most of my cabbage got eaten by cabbage moth larvae. Even though I covered them, they still found a way on. I hope to grow cabbage earlier before moth is even around, I hope to win over them this year! If I do, I will finally be able to ferment my cabbage. I plan to ferment it in a 5-gallon plastic bucket, nothing complicated.
I remember my parents fermented cabbage in a basement in a large canister and cabbage was the best!
Along with cucumbers and cabbage, you can ferment almost anything. Veggies like tomatoes, cauliflower, carrots, onions, garlic, and corn do ferment well.
Where do you store harvested produce?
The best conditions are cool, dark, and dry. Some vegetables however require cool, dark, and humid conditions. Since not all of us have ideal conditions for shelf storage, we need to work with what we have. I store my vegetables in a basement. It’s dark, and our temperature there is 68F because cooler makes my feet feel cold, so 68F is the lowest I am willing to do in our basement.
As for fermented vegetables, it depends. I had space in our wine cooler so I placed 2 plastic containers full of fermented cucumbers there. Had I not had a cooler, I would keep the fermented cucumbers just on a shelf with regular checking if they are still good. I plan to keep our fermented cabbage in a 5-gallon bucket just sitting in a basement. If our basement will be too warm and the cabbage will ferment beyond my liking then I will adjust and put it in the fridge or cooler. Look around your home and pick the space that would store your vegetable best. Rooms like basements, cool dark closets, cellars, unheated rooms, or the coolest room in your home might work for your situation. Then as your produce is stored, check on it periodically how it’s doing. Eliminate anything that started to rot, and use veggies that look wilted or that won’t last you any longer if not eaten as soon as possible. If you can, transfer those which needed to be transferred into the fridge, or simply cook and eat them.
Store vegetables in root clamp
If you have space in your yard, you can also build a root clamp. It’s a space to store root vegetables such as potatoes, carrots, celery, carrot, beets and so. There are many ways to build a root clamp. Dig a root clamp can be very simple. Select a space in your garden or raised garden bed. If you have a hoop house or a greenhouse, even better, you can build the clamp inside for extra protection from frost and harsh elements.
How to build a root clamp
Dig a hole of the size you need for your vegetables about 2-3 feet deep, depending on how deep your soil freezes in winter. You can store the vegetables directly in the hole or even better load a crate, perforated bucket, or some vessel with holes on the bottom for the moisture to escape. Then bury the veggies and put the soil back on top. You can isolate the top of the clamp with loose or bagged leaves, hay, or straw.
