
- Grow from seed.
- Buy seeds cheap or in bulk, and get seeds in the library
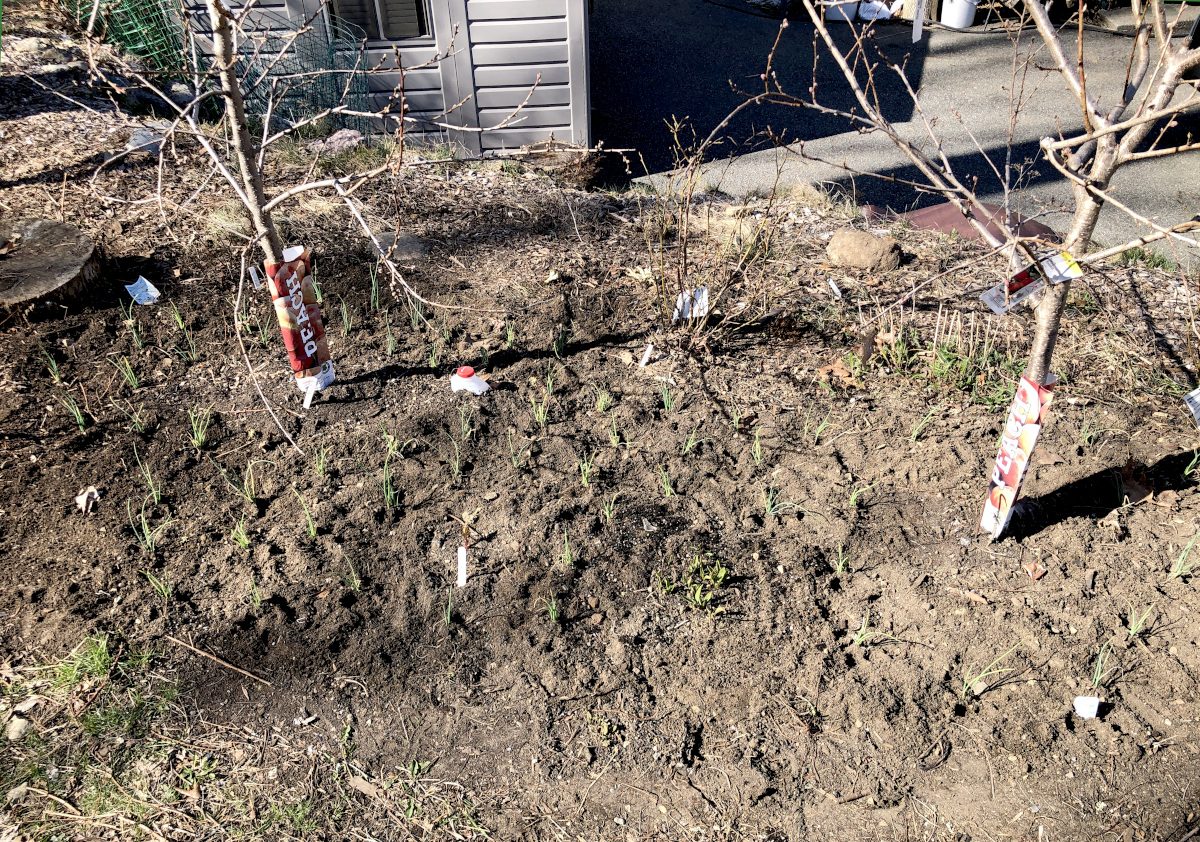
- Grow perennials like fruit trees, nut trees, bushes, canes, and herbs
- Buy compost, tools, and fertilizers off-season like in the winter season or end of autumn when they are on discount.
- Shop for equipment, seeds, pots, containers, and trowels at dollar stores. That is a season’s worth of food you would not have otherwise.
- Plant in the ground to save on dirt, compost, and building material for garden beds.
- If bad native soil, grow in grow bags, shopping bags, or kiddy pools instead of building garden beds.
- Start a compost pile
- Get free mulch from local tree companies that need to get rid of mulch.
- Save your own seeds from your own plants like tomatoes, peppers, carrots, onions, and lettuce to name a few.
- Start seedlings on a south-facing windowsill or build an affordable grow light setup.
- Reuse seed starting containers
- Reuse spent soil, never throw old soil away but rather amend it.
- Use free resources like grass clippings, leaves, weeds, and kitchen scraps, to make fertilizer, compost, and mulch.
- Get free manure from a local farm, the neighbor that needs to get rid of it.
- Use free materials to stake plants or make hoops. Materials like young playable branches will bend into a hoop. Bamboo can be used as a stake.
- Use household items to tie the plants up with.
- Collect rainwater to water the garden.
- Wear old clothes and shoes as your gardening clothes and shoes.
- Use old bedding sheets and curtains as frost covers.
- Use a painter’s plastic drop cover, or old shower curtains as plastic co er to create a greenhouse effect.
- Use shopping bags or kiddie pools as containers or raised beds. Tree planks can also be used to create garden beds.
- Make your own free plant labels
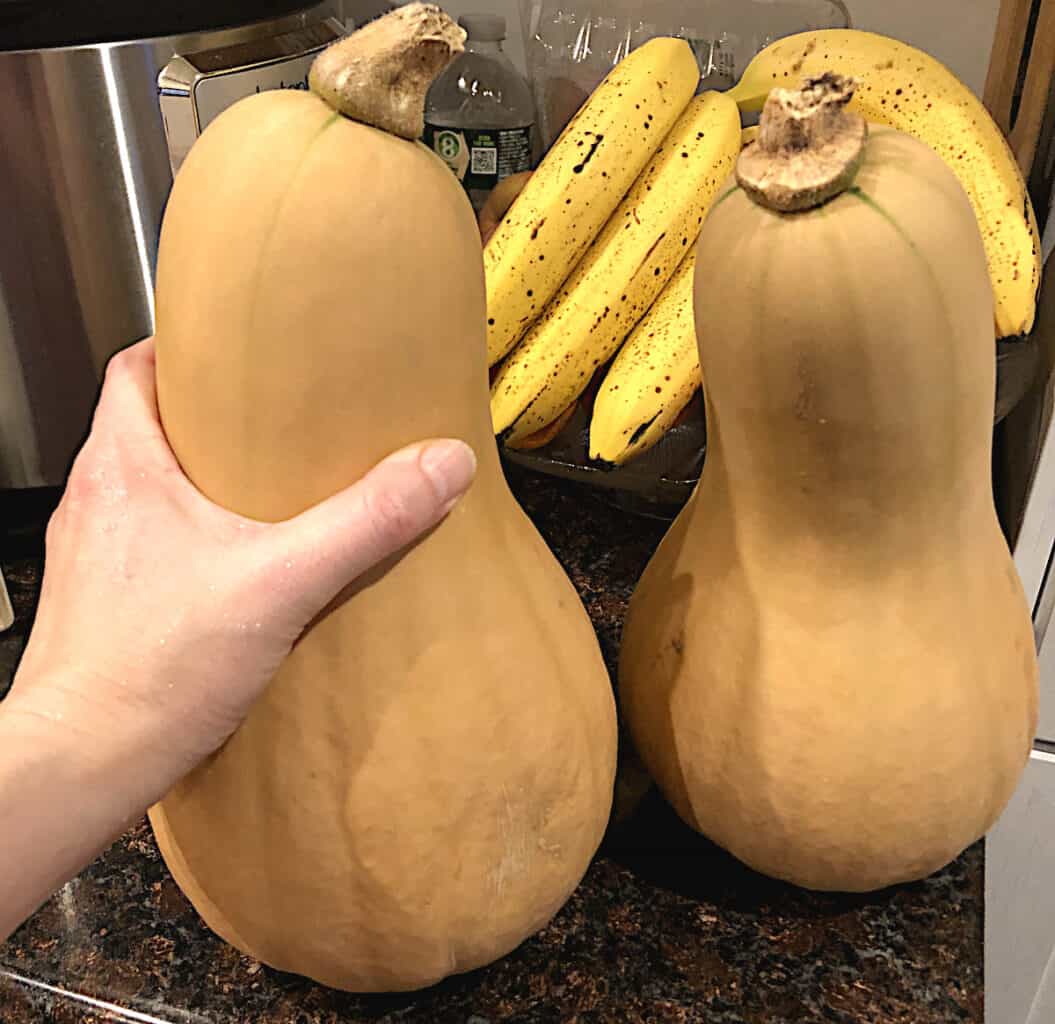
- Only grow what you enjoy eating.
Why grow food from seed?
Growing food from seed is cheaper than buying mature plants or seedlings. More varieties can be grown from seeds than those offered at stores as seedlings. One packet of seeds costs less and can yield more plants than a seedling bought at the store.
Seedlings start and plants cost more than seeds. A $2 packet of beef steak tomato seeds has about 25 seeds in it. You can grow about 22-25 tomato plants from it, compared to buying only 1 plant from the store for about $4.99. More plants will also yield more fruit.
Growing from seed will allow you to grow whatever fruit or vegetables you like and any variety too. More plants can be grown from seeds in quantities. If you want to have a medium or a large size garden then growing from seeds is more affordable than buying individual plants.
If growing from seeds, then your gardening budget will go further compared to buying seedlings.
Where to buy seeds cheap or in bulk?
Buy seeds in dollar stores, or in bulk online. Some stores discount the seeds at the end of the growing season or in winter. $1 seeds can also be purchased online at www.dollarseed.com, Free seeds can be obtained at www.freeheirloomseeds.org. Buy also in bulk by purchasing sprouting seeds meant to grow sprouts, they will grow to mature plants as well. Some libraries also give seeds away at the beginning of the growing season, so check your local library.
I purchased from DollarSeeds.com online and their seeds were good. They also have a good variety to choose from.
The other year, I got all my garden seeds for free from a social media group. A lady gave her seeds away because their dates were expired and she did not want to plant them anyway. It was a full shopping bag of seed packets. I still have some and enjoy planting them.
I would consider buying seeds in large by buying seeds meant to grow sprouts. These are not chemically treated as regular garden seeds might be as sprouting seeds, as are meant for consumption. Here is a nice variety of seed mix meant for sprouting that can be grown into fully mature, fruiting plants. Sprouting mix seeds can include various plants like beets, turnips, broccoli, spinach, sunflower, basil, lettuce, and more.
One can grow more seedlings and plants and therefore food from seeds than from start plants bought at the store. You can grow hundreds of plants from seed that will cost you less in conclusion with all the grow lights cost, seed trays, and electricity included when compared to buying hundreds of seedlings.
Benefits of growing perennial plants, vegetables, and fruits
Perennial plants will come back year after year and will yield yearly. They are planted once and set vigorous roots to stay. Most perennials also spread well by roots and are easy to propagate so they can be multiplied to increase the harvest. By planting perennials, we eliminate workload and lessen the seedlings we need to plant in the garden with annuals. Most perennial fruits, nuts, and vegetables are also expensive when bought at the store. They do not require annual sol preparation, annual planting, and no spending for annual seeds or seedlings.
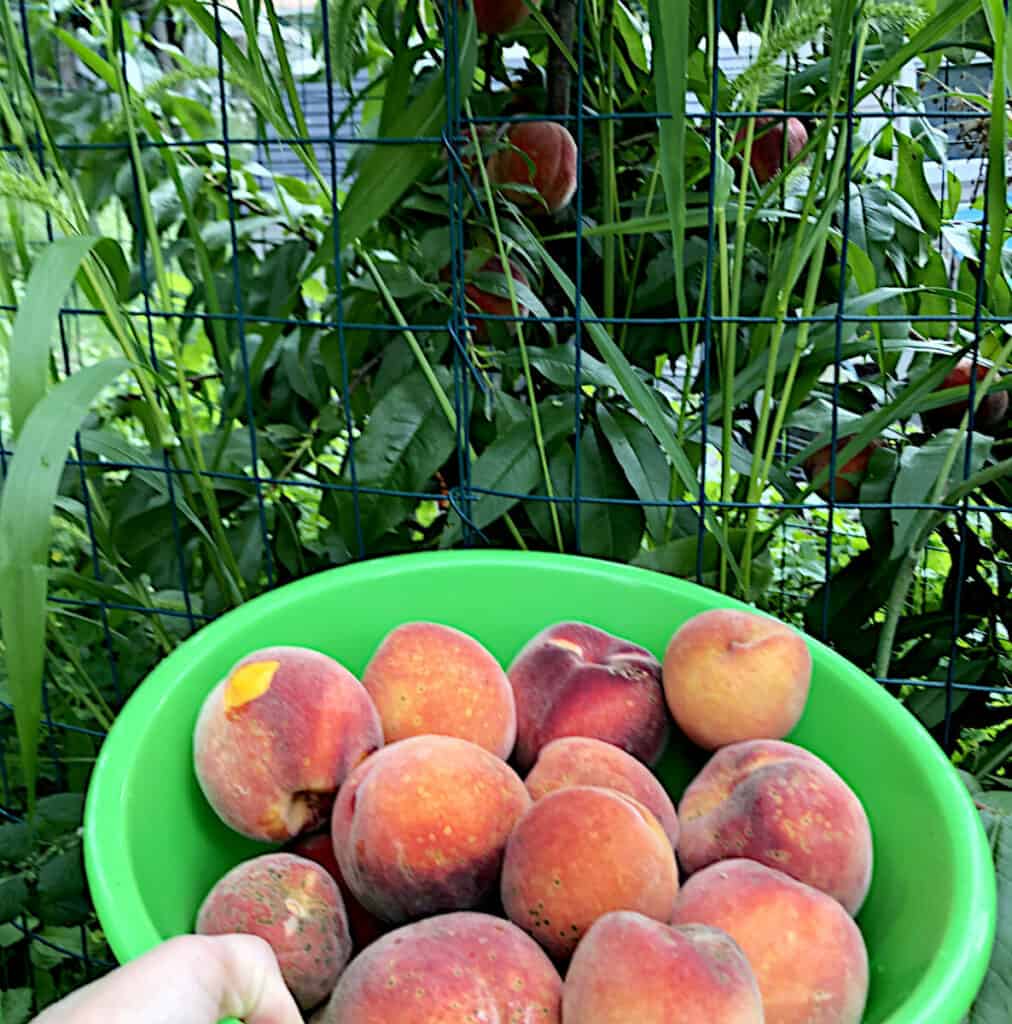
Perennials are my favorite plants ever! They are what I call “plant and forget” plants. You just plant them once, let them establish and then just harvest them year after year. I have several perennials in my garden. Fruit trees like peaches, cherries, and apples. Then perennial bushes like blueberries, blackberries, and currants. Cane perennial fruit like raspberries. And let us not forget about my garden favorites, perennial herbs like mint, oregano, thyme, and lovage. Perennial flowers also belong in my garden to bring pollinators, use them as mulch, and beautify our home.
If you are just starting a garden, I would start with perennials. These should go in the garden first as they take time to establish. You plant and forget them. And next year and years after that you will harvest them. The sooner you plant them the sooner you will keep harvesting them. They require the least effort and care but only one-time planting.
I also have a plan that every year during a growing season I bring at least one perennial into my garden, whether it’s a fruit, nut, vegetable, or herb.
What I also decided was to ask my family and friends for perennial plants as gifts. I do not like to get dust catchers, gifts that just sit there in the boxes of shelves doing nothing but catching dust. I let my family and friends know that I am gardening and they are very welcome to bring me perennials. This year, I will get an herb garden from my mother-in-law, and I can’t wait for it! I will surely remember her and my father-in-law for years to come every time I harvest from it.
Perennials are great gifts for gardeners! They are also great gifts to give, as each time someone harvests from them, the giver will be remembered! Here is a collection of culinary herbs seeds to create an herb garden! Some of the most used culinary herbs create this collection and I would recommend them as gifts for gardeners. I would welcome all of these in my herbal garden that’s for sure!
How to prepare for gardening for next season
Prepare for the next growing season in winter or when the growing season is ending. That is the time when many stores sell their stock of compost, soil, fertilizers, gardening tools, and seeds at discounted prices. You can grow your food cheaply by buying things you will need during the growing season in the off-season for cheap.
Unfortunately, there are no off-season price discounts in my local area! I wandered through the stores in late autumn and during winter looking for seeds on sale, and found nothing! There were seeds sold at the same price as usual, or they were simply liquidated but no seeds sold at discount prices! In my area, the big box stores mostly throw the seeds away rather than discounting them! I even talked to a manager to sell me the seeds discounted or just gift them to me, as they will throw them out anyway, and was told, no! I should either buy them for regular price or nothing. Sad!
The same goes for soil amendments and tools, nothing is discounted. These simply disappear from the store and appear again at their regular price in spring.
But if you can, browse your local area and find out whether you will be able to take advantage to buy gardening supplies at discounted prices during the off-season. Most gardeners in their areas do. It is worth finding out. I would definitely stock up for cheap!
Should I shop for gardening supplies at dollar stores?
Yes! One can shop for gardening supplies like watering cans, seeds, gardening gloves, trowels, pots, and containers at a dollar store. Take advantage of affordable gardening tools, especially when starting a garden or are on a tight budget. The gardening tools at the dollar store might not be the best quality but will last you a season or two and you will be able to grow food that would not be able otherwise.
I started gardening on a budget and bought some planters, seeds, trowels, and gardening gloves at a dollar store. The seeds grew, and I still have the planters and the trowels. They are not the best quality but are worth starting with.
I would especially recommend buying gardening supplies at the dollar store for those who are just starting their gardening endeavor and are not sure whether it is for them or not. You will not spend much but will have all you need to start a garden and find out whether gardening is for you or not. If it is, great, you have some tools to work with, which you can upgrade as you garden. If you find out gardening is not for you, well, at least you did not spend much! I say, to test the tools and the gardening endeavors, a trip to the dollar store for the starts is a good start!
Many times, I find that a dollar store carries brands like other stores do but you can get a better deal, especially when it comes to gardening supplies like pots and seeds.
It is good to start on a low budget and grow food. That’s the food you would otherwise not have!
Is an in-ground garden cheaper to set up and start with?
Yes, an in-ground garden is cheaper to set up compared to a garden bed or container garden. An in-ground garden does not require any building materials like raised garden beds do. Also, no containers are needed to construct an in-ground garden. It does not require any fillers and extra soil that is needed to fill up containers and garden beds.
I have several in-ground garden beds in my growing space and I like them. They do not require as much watering as a container garden and hold the moisture well for prolonged periods compared to other garden types. If I need to create some extra garden beds for my new plants I go for an in-ground garden, which I am able to create in no time. In-ground gardens are easy and fast to set up.
If interested in an in-ground garden, I invite you to read How to build an in-ground garden for beginners. In the article, I will talk to the readers from start to finish about how to set up an in-ground garden, including how to choose a suitable location, what supplies are needed, how to prepare the area and amend the soil, how to care for inground garden beds and much more!
How to start a garden with bad native soil?
If bad native soil, start a raised bed garden or a container garden. These types of gardens do not use native soil but enable you to fill them with the soil of your choice. If on the budget, one can use grow bags, shopping bags to grow in as well as a kiddy pool as raised beds.
A garden can be set up even though the soil you are working with is not suitable, sandy, or clay. Even the native soil can be amended and worked to turn into good soil, but it might take time.
For those who do not want to deal with native soil at all, they can simply set up a raised bed garden in which you create a garden on top of the native soil that is contained and held by the sides of the beds made of wood, plastic, or any free material you can find. A container garden is a good option for those who would like to set up a small gardening space to start with.
A GOOD READ: How to improve garden soil
Most of my property has nice loamy soil, but some parts are rocky and on a rock ledge. When I can, I set up an in-ground garden using native soil. But where there are lots of rocks, or a rock ledge and the roots will not be able to get deep down, I set up a garden bed.
One can be multiple garden types in her/his growing space if needed. I grow some vegetables in raised beds, and others in in-ground beds. I even have some plants such as herbs in containers. I have a combination of all garden types because that works best for my growing space. There is no rule that one should work only with one type of garden.
To choose the best type of garden for your property, visit What is the best type of garden for vegetables? This article will walk you through the most popular and go-to garden types used by home gardeners. After reading this article, you will have a clear vision of what garden type is best for you.
A GOOD READ: How to start a container garden for beginners
How to build an in-ground garden for beginners
How to construct a no-till garden for beginners
How to construct a raised bed garden for beginners
How to set up a balcony vegetable garden
How to start a compost pile
- There are four components needed to start a compost pile.
- Good compost needs carbon-rich materials called “browns” like dry leaves, plant stalks, dry weed plants, shredded paper, cartons, cardboard, paper rolls, and wood shavings.
- The second important component to create a good compost is nitrogen-rich material called “greens”, which include grass clippings, vegetable and fruit scraps, and fresh weeds from weeding.
- The third component is water for moisture.
- The last component is oxygen-air.
- Mix or layer all these with a proper ratio of two to three parts carbon-rich material (browns) to one part nitrogen-rich material (greens). Water well to moisten everything, but do not let it sit in water. Let the water drain. The pile should be moist but not dripping wet. Allow airflow, do not keep the compost pile in an air-tight container.

Starting a compost pile is one of the first steps to take when setting up a garden on a budget. The best compost for a garden is the one you make. It is free to make, you know what is in it and it is always on hand.
All the materials in a compost pile need time to decompose, so it does take time to make compost. It takes about 5-12 months for my compost to be ready. I harvest from the bottom of the pile while adding more components on top so it keeps on growing and it is never ending for continuous compost harvesting. I also add some compost to the pile, soil, and worms to help speed up the composting process.
I did not start a compost pile when I first started gardening and I regret it. I would have more compost by now. I hope you learn from my mistake and will set up a compost pile if you can as one of the first tasks when setting up a garden.
Where to get free mulch for the garden?
To get free mulch for your garden call your local tree companies. Tree companies usually look for someone who would take free mulch from them, and they deliver too! Other free mulch can include whole dry leaves, shredded dry leaves, straws, cartons, newspapers, or shredded paper.
I often see tree companies looking for people to deliver free wood chips to. These companies cut down lots of trees and always look for places to drop them at.
Wood chips are a great mulch to mulch your garden beds. Never mix wood chips with the soil and then plant them into it. Mulch is supposed to be sitting only on top of the soil covering the surface.
A thick layer of wood chips with a carton as a barrier between weeds and wood chips layer is a great way to eliminate grass and weeds. As they die down and wood chips rot, they create a fertile layer underneath.
Why save seeds from the garden?
Saving seeds from your own garden saves you money as one does not need to buy the seeds from stores or seed companies for the next growing season. Saving seeds allows you not only to garden cheaply, and save money on the gardening budget but also provides you with food security and knowledge on how to save and store your own seeds.
Saving seeds is one of my favorite gardening tasks. I like to see the vegetables, herbs, and fruit go to bloom and then produce seeds. I see a harvest in every seed. When I see a seed of a cucumber, I see a bowl full of cucumbers! When I see a seed of broccoli, I see a full head
Always store completely dry seeds in a tight container in a dry and dark place. I use a plastic photo case box, with individual plastic cases to store my seeds. Each case is a different color which helps me to locate certain seeds in no time. It comes in a large plastic box with a handle. It is transparent so I can see through. This plastic photo case with individual cases for each seed family is amazing and so far the best way to store seeds, and lots of it. If you are looking for a better way to store seeds give this case a try, I am sure you will not go back to your old ways of storing seeds.
How to start seeds without grow lights
Seeds can be started on a south-facing window sill, or an affordable alternative to growing lights can be built instead of using LED lights or shop lights. Seedlings need lots of bright light. The light alternative to growing lights should be a bright light, somewhere between 1500-2000 Lumens, and the color temperature somewhere between 4500-6500 Kelvin. As long as the light you get has these measurements the seedlings you grow should do fine. Provide at least 12 hours of light to the seedlings to grow strong and healthy.
I have devoted a whole article on How to start seeds without grow lights, where you can learn tips and ways to grow plants from seeds without grow lights. It might not be for all gardeners as we all live and garden in different circumstances and conditions. But it is worth a read if you are looking for ways to grow from seeds on cheap without grow lights.
Can seed starting containers be reused?
Yes, seed starting containers can be reused. Ensure the seed containers are free of mold, disease, fungus, or anything that could affect the seedlings. Many gardeners choose to wash and sterilize their seed containers before reusing them.
I put it out there, I do not wash my seed starting containers when reusing them. As long as I know the seedlings, I grew the last time were healthy and without any issues, I just reuse them. I do not like washing seed starting containers, and I see it pointless as I did not have any issues with reusing them the way I do.
Have I had any disease issues I would simply throw away the flimsy ones and would wash thoroughly the sturdy ones to keep and reuse them.
If you have had issues with growing seedlings and they had diseases like dumping off, or fungus or mold growing, I would recommend washing and disinfecting the seed trays before sowing anything in them.
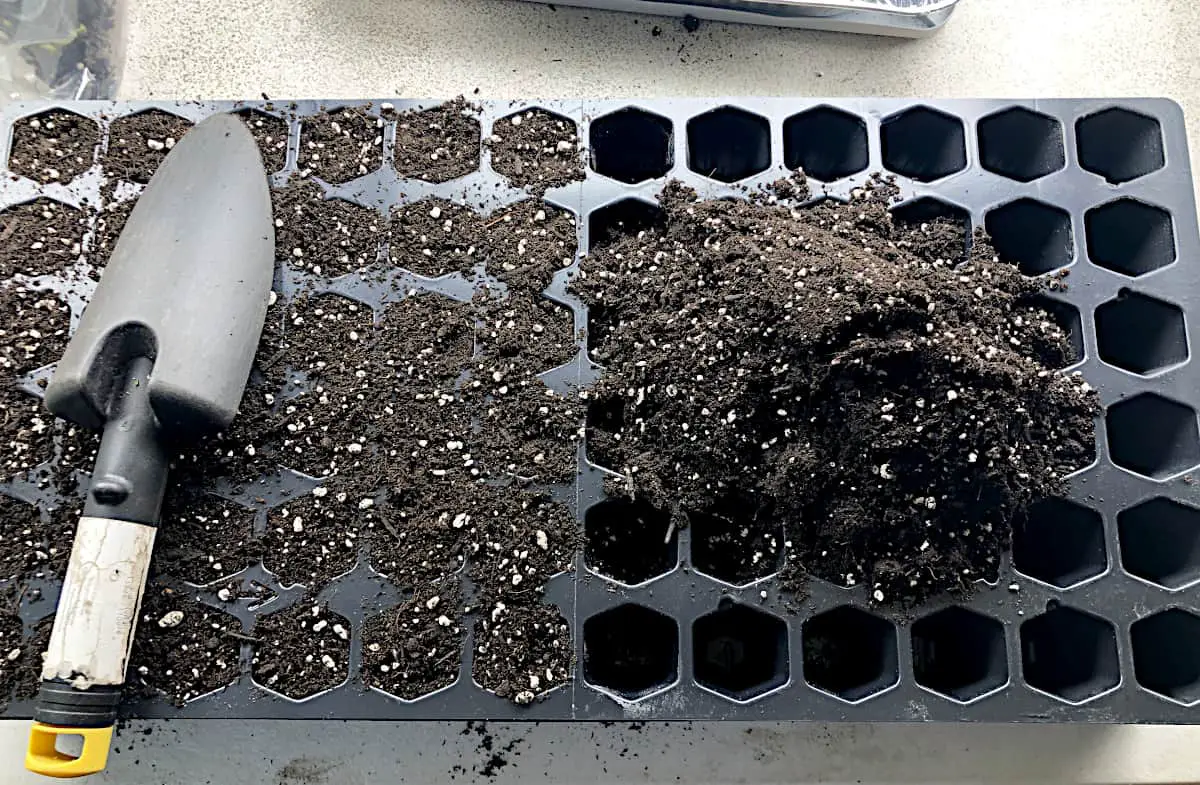
Can old soil be reused?
Yes, spent old soil can be reused as long as the soil was healthy without carrying any diseases, bad fungi, or mold. Do not reuse unhealthy soil carrying diseases, bad fungi, or bad mold. To reuse healthy, spend old soil, remove the old tough roots, grubs, and other debris. Then amend the soil with compost and organic and inorganic matter as needed. Organic matter that can be used to refresh spent old soil includes compost, worm castings, aged animal manure, and leaf mould. Inorganic soil amendments can also be added to increase soil drainage, aeration, and water absorption. Some of the inorganic soil amendments are vermiculite, perlite, and sand. Add each amendment as needed till the soil is full of nutrients and loamy, and drains well while still holding an acceptable amount of water. A good soil structure should form a ball in your hand when moist but should crumble easily with one finger.
I constantly reuse my old soil. I have a pile of old soil and take from it as needed. I never throw soil away, instead, I amend it and reuse it again and again as needed. If the soil is healthy there is no bad soil to be thrown away.
If you are dealing with soil that is old, or now workable, I invite you to read my other article on How to improve garden soil. In the article, I explain what are soil amendments, when and how to use them, what organic matter I use in my garden, and much more!
How to make free soil amendments, fertilizers, compost, and mulch
Use free resources around your garden, property, and kitchen to make soil amendments, fertilizers, mulch, and compost. Grass clippings, leaves, and decomposed leaves, aka leaf mould, can be used to mulch your garden beds. Compost can be made from weeds, leaves, kitchen scraps, grass clippings, plant clippings, old plants, animal manure, shredded paper, and cardboard mixed together and let decompose. Wood chips can be used as mulch and can be sourced and delivered free by tree service companies. All these can also be used to make liquid fertilizer by mixing them together with water in a container and letting them decompose for about two to 6 weeks.
Where to get free animal manure for the garden?
Free animal manure can be obtained at your local horse stables, local farms, and from neighbors that keep animals and want to get rid of the manure for free. Connect with local farmers, and homesteads via social networks where they often offer manure free.
I remember recently a friend of mine was offering free horse manure. She has two small ponies and lots of manure she will willing to give away completely free of charge just to get rid of it. Other neighbors around you might keep chickens or bunnies. Ask your neighbors for free manure, and contact local farms to get their manure too. I am sure there is someone in your neighborhood that has piles of manure, has no idea what to do with it, and will be very happy you called!
How to create free plant support?
Create free plant support using material sourced around your garden, house, property, and neighborhood. Use young bendable tree branches, and tree shoots as stakes, or bend them to create hoops! Browse local neighborhoods for free bamboo stakes, arches, and trellises. Look for them on social networks where bamboo stakes, and used trellises and arches can be often found at low cost or free. Use branches from punned trees as plant support. Use tall plants such as corn stalks as support and stakes. If you have a willow tree, birch, hazel, or any tree and bushes with bendable, soft branches, gather them and create an arch, a hoop, or even a hedging. Items like an old ladder, and an old boom handle, the wooden pallet can be used as a trellis or support. Look what is laying around your house that is tall that could be used as plant support.
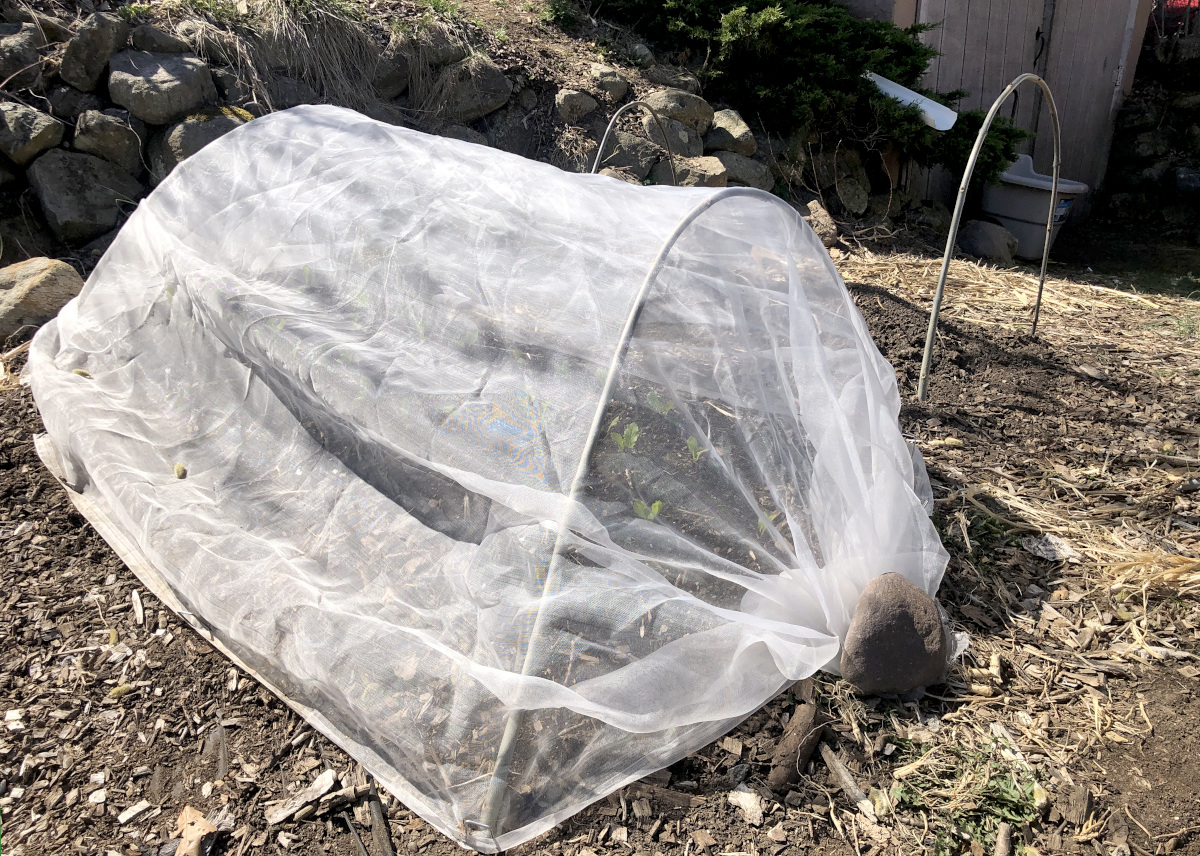
Just yesterday, I used young tree shoots to create an arch support for my hoop covers. They simply grew out of an old cut-down tree that is constantly sending new shoots. First, I just removed them when they popped out of the stump, but once they caught up with me and grew taller than I was, I thought to myself, I could use them as plant support to create hoops, pole bean support, or support my tomato plants! I felt foolish for removing the tree shoots from a cut-down stump previously. Have I left them grown from the begging I would have a large supply of sturdy wooden plant stakes! Well, lesson learned. It also opened my eyes to look around my property and use things in multiple ways. Now I have the second stump growing shoots and I protect them instead of removing them because I already have a purpose for them!
In my neighborhood, someone has a very large and thick willow growing in their yard. I take a walk after a storm or a very windy day and gather fallen playable branches left on the road. I made several door wreaths out of them and I can’t wait to use them to make beautiful natural door wreaths. No more paying for wreaths bases!
How to make free plant ties
Use old T-shirts or socks. Cut them into strips and use them as playable and stretchy free plant ties.
How to collect rainwater to water the garden
Collect rainwater in barrels, or cisterns to water your garden. Collect rainwater from your home’s roof, shed roof, or animal coop’s roof. Let the downspout flow into a barrel, or a cistern, covered with a sift to keep the water clean of debris. Use rainwater to water the garden.
Can I use old clothes as gardening clothes?
Yes, use old clothes and shoes as gardening clothes and shoes. Gardening in old clothes and shoes is a great way to upcycle and reuse them. They are appropriate for gardening as one will not get concerned when the clothes get dirty or rip off while performing gardening tasks. Old clothes and shoes save you money and a trip to the store as these are free and handy. Use old clothes and shoes to garden cheaply, or on a tight budget.
What household items to use as garden covers?
Use old bedding sheets, shower curtains, large towels, large tablecloths, or window curtains as row covers, frost covers, and covers to protect soil or compost piles.
Now you have one more excuse to throw away those old ugly curtains and get new ones!
What household items to use as frost cover?
Use painter’s plastic drop cover, old plastic shower curtains, or old plastic table covers as frost covers or to create a greenhouse effect.
Last year, my peaches bloomed in April so wonderfully! Then the frost hit our area and my bellowed husband, a carpenter, helped me cover them using painter’s plastic! It’s cheap, available in big box stores in large rolls that will last you for years to come. A large roll of painter’s plastic sheet can be purchased online as well right here! It can also be used to create a greenhouse effect.
How to create a cheap raised bed?
Use shopping bags, buckets, or kiddie pools as containers or raised beds to grow food in. Tree planks can also be used to create raised garden beds. Old large cardboard boxes can be a great start to growing tomatoes or potatoes, then compost them in a spot over the winter or put them in a compost pile at the end of the growing season. Free pallets are often to be found. Use them to build a free raised garden bed.
How to find out what vegetables to grow?
Find out what vegetables and fruit to grow by learning what you and your family like to eat. When shopping, go through your shopping cart and see the vegetables and fruit you purchase the most. Decompose the meals your family enjoys eating and see what vegetables and fruit you cook with the most. Make a list of these, this will be a list of vegetables and fruit to grow in your garden. Grow only what you and your family like to eat. If you grow something that you and your loved ones will not eat, then the seeds, yield, workload, supplies, and time was all lost. Rather make a list of fruit and vegetables your family enjoys and grow that. You will save on groceries and provide food for your family that they actually enjoy.
How to make free plant labels
Use plastic containers for yogurt, sour cream, or any tall playable plastic food-safe container. Cut the top of the container and the bottom part of it. Then straighten the plastic strip that remains. Draw any shape of the plant label you like and cut it out.
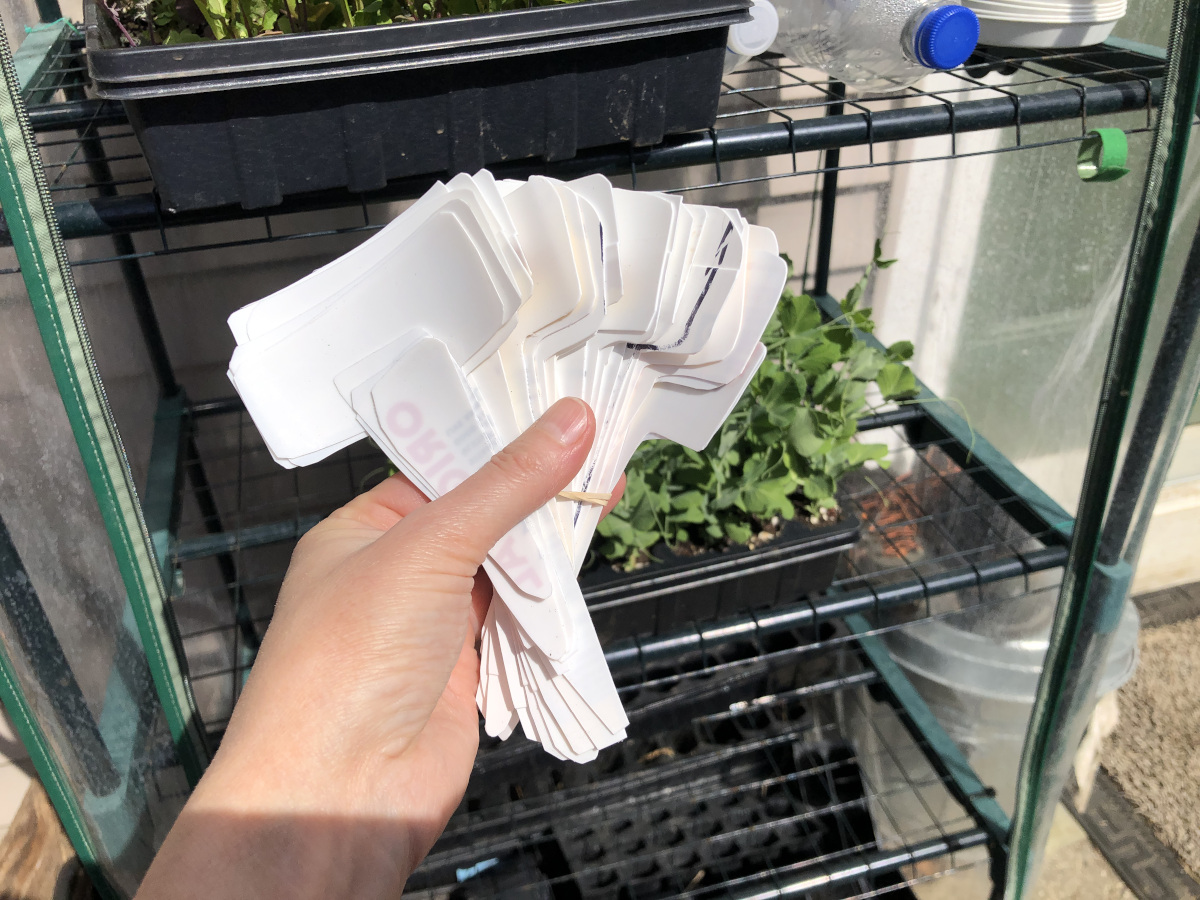
If you need a photo reference, please visit my article, How to make your own free DIY plant labels and why where I attached photos for each step of making your own free DIY plant labels.
Making your own free plant labels will save you money as you will never have to buy any plant labels ever again. These are easy to make, and you will have endless supplies of labels for a lifetime.
What is the cheapest food to grow?
The cheapest food to grow is easy to grow and care for and yields a lot. Lettuce, tomatoes, zucchini, green beans, herbs, and berry bushes are one of the cheapest foods to grow compared to how much they cost at the store.
What is the best food to grow to save money?
What is the easiest food crop to grow?
Best staple foods to grow in a garden
